
Are you looking for the best Aniimo team comps to dominate your next battles? While you might think simply slotting the strongest individual Aniimo into a single party is enough, synergy between team members is just as vital.
Some Aniimo excel at creating Break windows, while others boost raw damage, provide HP Regeneration over time (Regen), or directly heal the entire team.
In this guide, we will explore the best Aniimo team compositions in Version 1.0, breaking down each member's role and why these synergies work so effectively.
How Team Building Works in Aniimo
Building a great team in Aniimo goes beyond picking high-tier units. Every Aniimo should fulfill a specific function—whether it's dealing damage, breaking enemy shields, supporting allies, or sustaining team health.
The core roles include:
| Role | Function |
|---|---|
| Breaker | Fills the enemy's Break gauge to create vulnerability windows for massive damage. |
| DPS | Primary damage dealer responsible for wiping out targets. |
| Support | Enhances the team with buffs, debuffs, and utility effects. |
| Regen | Restores HP gradually over time. |
| Healer | Directly heals team members when health drops low. |
Best Aniimo Team Compositions
Below are some of the strongest Aniimo team comps in Version 1.0. Each team features a unique playstyle, so choose the one that best fits your playstyle and available roster.
Electric Premium Team
If you're searching for top-tier offensive setups, the Electric Premium Team is an outstanding choice for fast-paced, aggressive combat.
This composition revolves around a simple tactical loop:
Trigger Break → Buff Team → Burst Damage → Execute Enemy.
Electric Premium Team

BLAZEN

LUMINELLE
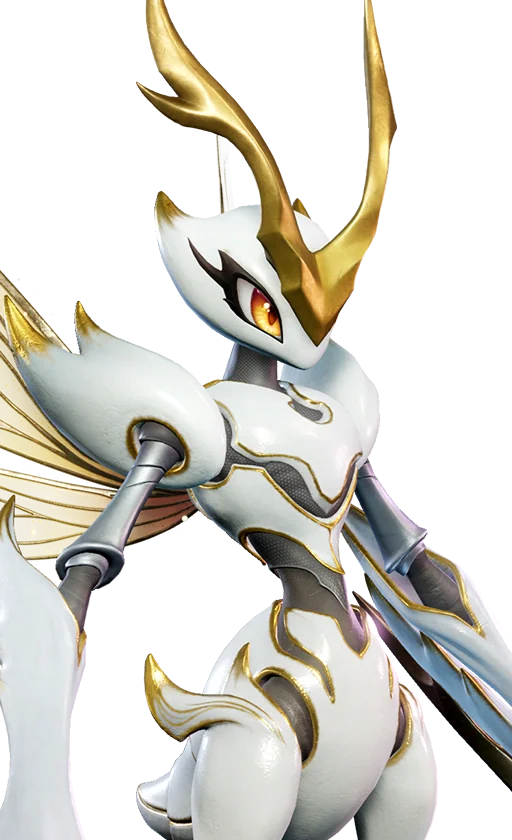
FULMINTIS

TURBO
| Aniimo | Role | Primary Purpose |
|---|---|---|
| Blazen | Breaker | Applies heavy pressure on the enemy Break bar. |
| Luminelle | Support | Provides team buffs and damage amplification. |
| Fulmintis | DPS | Acts as the main damage dealer. |
| Turbo | Support | Generates EP and provides Wind utility. |
Why does this team work?
Blazen initiates fight setup by pressuring the opponent's Break gauge. Once the enemy is primed for vulnerability, Luminelle casts buffs right before Fulmintis takes the stage to unleash massive burst damage.
Turbo adds extra utility buffs, ensuring fluid skill rotations.
The main drawback is the absence of a dedicated Healer, meaning players must dodge accurately and minimize incoming damage.
Best for: Players who prefer fast-paced, glass-cannon offensive combat.
Lunara Starter Team
While the game provides no direct hints on ideal partners for Lunara, this team composition covers all essential pillars: defense breaking, damage output, and stat-scaled healing.
Lunara Team

LUNARA
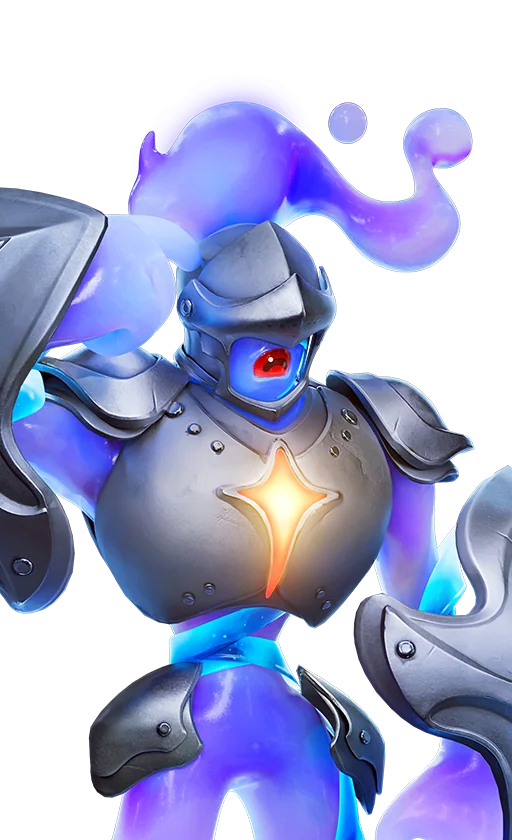
ROOKEY
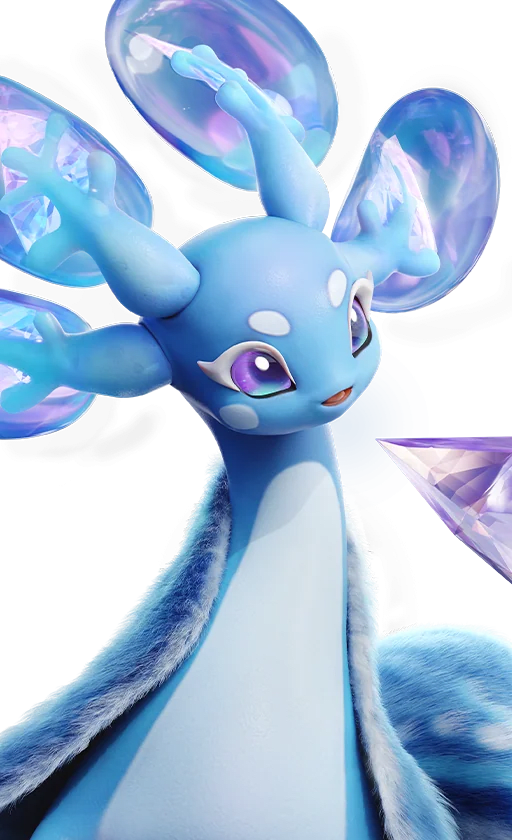
GLACY

SOMNIWING
Helion Starter Team
Helion's team-building setup ranks in S-tier. Alongside its recommended flagship comp, these alternative builds are tailored to solve specific encounters.
Helion Team

HELION

TUBSTER
SOMNIWING

TROMBER
Dark Mark & Burst Team
This balanced Dark-element lineup is a compelling option when building high-tier Aniimo teams.
It combines Break capabilities, Dark elemental amplification, burst damage, and passive Regen.
Dark Mark & Burst Team
ROOKEY
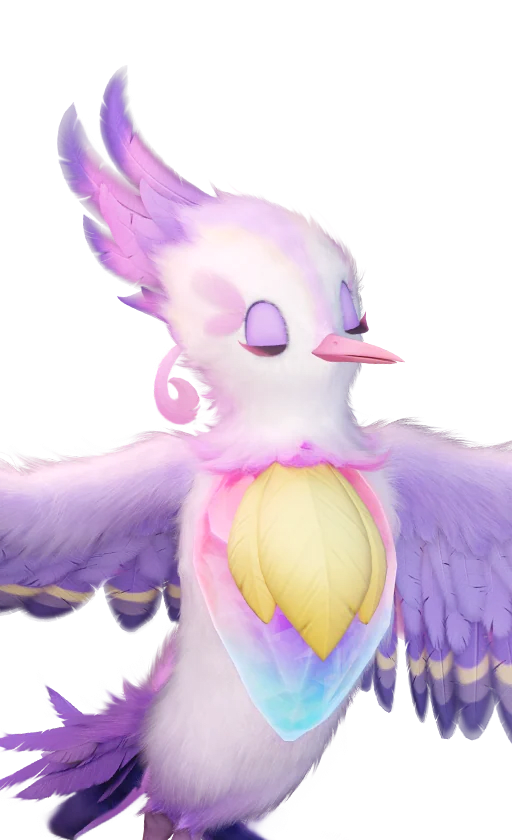
FRAGRANCIER
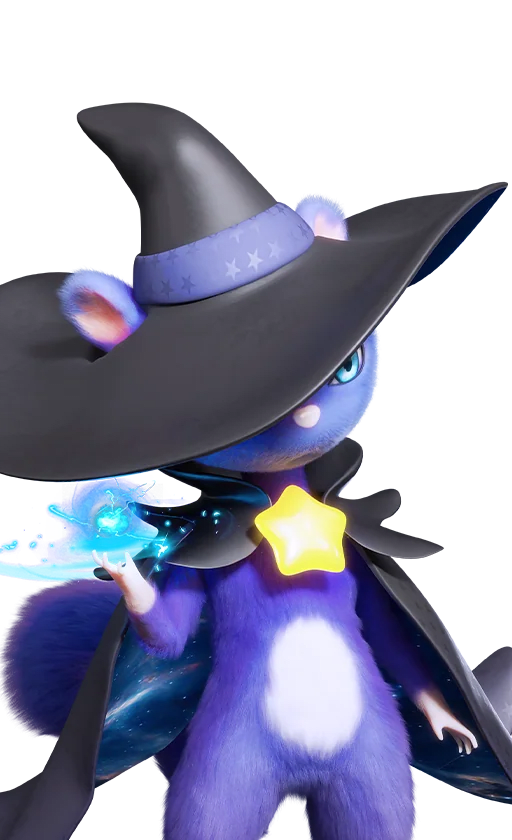
STELLARYS

HEXXIN
| Aniimo | Role | Primary Purpose |
|---|---|---|
| Rookey | Breaker | Creates vulnerability windows for damage setup. |
| Fragrancier | Support | Boosts Dark damage for the team. |
| Stellarys | DPS | Delivers primary burst damage. |
| Hexxin | Regen | Provides continuous HP recovery. |
Why does this team work?
Rookey leads off by breaking enemy defenses.
Fragrancier then enhances Dark damage output, enabling Stellarys to drop massive burst numbers during the opening window.
Hexxin supplies health regen, making this setup far safer and more forgiving than the Electric Premium team.
Additionally, several core members evolve from early-game forms: Celestis evolves into Stellarys, while Dewy evolves into Fragrancier.
Best for: Players wanting a high-damage Dark team with built-in survivability.
Dark One-Shot Team
If you want to set up devastating single-window burst windows, this Dark burst composition is top-tier.
Instead of relying on sustained DPS over time, this team debuffs the target and executes with a massive single-cycle burst.
Dark One-Shot Team

DREAPLE
FRAGRANCIER
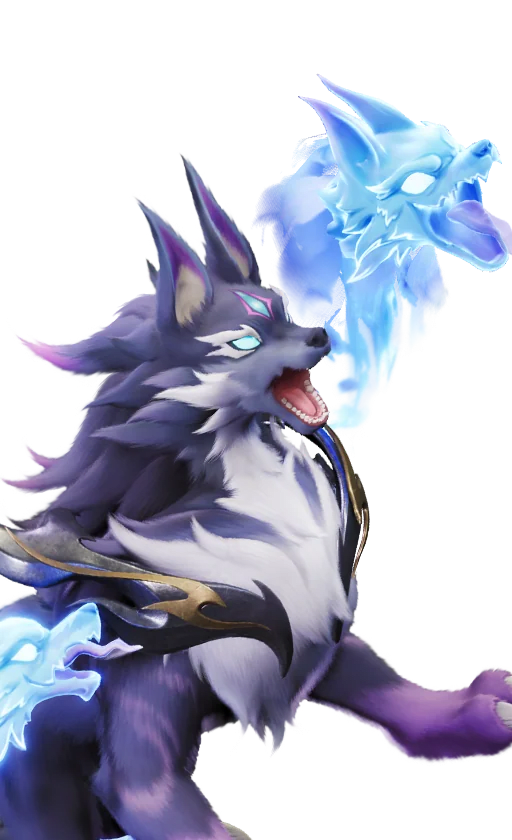
INFERLUPA
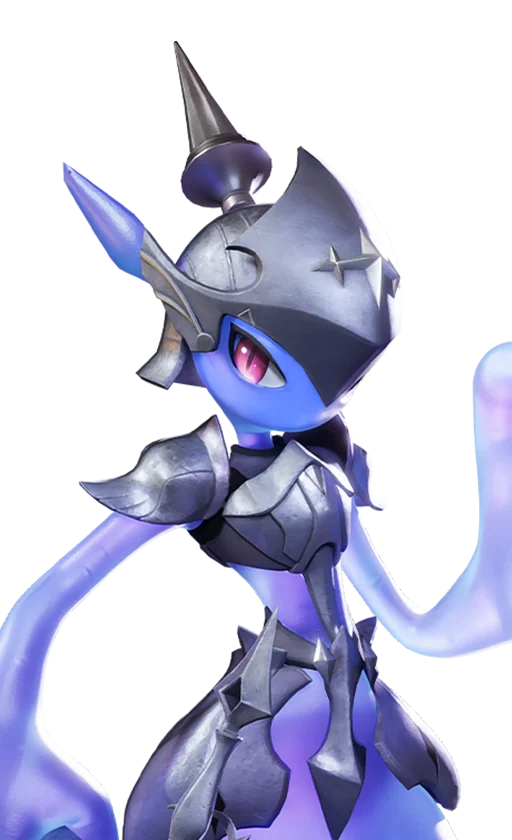
PAWNEY
| Aniimo | Role | Primary Purpose |
|---|---|---|
| Dreaple | Support | Applies debuffs and reduces enemy Dark Resistance. |
| Fragrancier | Support | Provides Dark damage amplification. |
| Inferlupa | Breaker | Assists in opening Break windows. |
| Pawney | DPS | Executes targets with finisher attacks. |
Why does this team work?
Dreaple kicks off combat by debuffing the target and lowering Dark resistance.
Fragrancier layers on additional Dark buffs, making the target highly vulnerable to follow-up hits.
Inferlupa triggers the Break window, allowing Pawney to unleash maximum power and finish off enemies instantly.
This team sacrifices long-term sustain for colossal burst window potential.
Best for: Players who enjoy massive single-hit burst combos.
Thornblade Crit Team
The Thornblade Crit Team offers a beginner-friendly and comfortable playstyle.
Rather than going all-in on burst damage, it supplies Thornblade with strong support buffs alongside solid defensive sustain.
Thornblade Crit Team

THORNBLADE

MELLOBLUM
SOMNIWING

GLAMEEP
| Aniimo | Role | Primary Purpose |
|---|---|---|
| Thornblade | DPS | Main damage carry. |
| Melloblum | Support | Buffs Thornblade's offensive output. |
| Somniwing | Regen | Provides HP regen and party utility. |
| Glameep | Healer | Maintains team HP during heavy damage phases. |
Why does this team work?
Thornblade serves as the hyper-carry, while the remaining three Aniimo focus entirely on buffing and keeping Thornblade alive.
Melloblum provides utility buffs, Somniwing applies passive regen, and Glameep steps in with direct healing when necessary.
This makes the team very forgiving of mistakes while striking a healthy balance between offense and defense.
Best for: General PVE content and players who want a balanced, comfy setup.
Full Lightning Burst Team
The Full Lightning Burst Team delivers a high-impact alternative for Lightning-focused players.
It maintains offensive power while adding better defensive stability compared to the Electric Premium team.
Full Lightning Burst Team

FENMANE
LUMINELLE
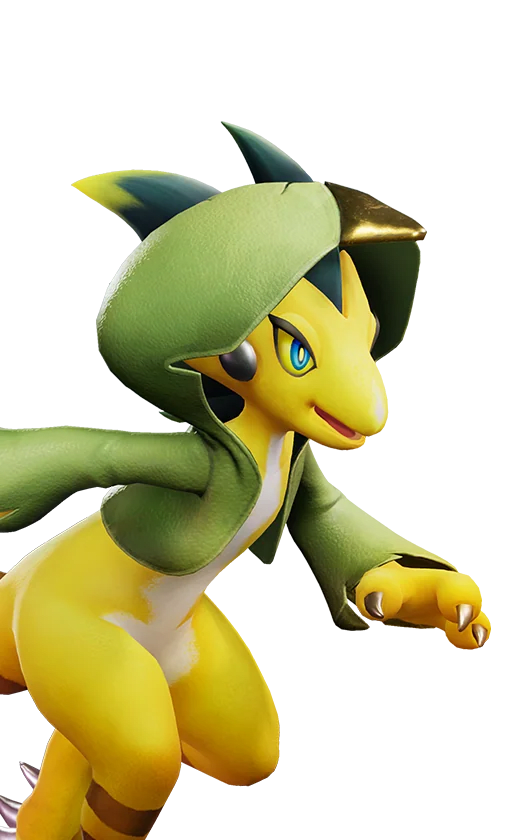
DAZMAND
GLACY
| Aniimo | Role | Primary Purpose |
|---|---|---|
| Fenmane | DPS | Primary Lightning damage dealer. |
| Luminelle | Support | Provides overall team buffs. |
| Dazmand | Support | Provides Lightning-specific elemental utility. |
| Glacy | Healer | Sustains team HP. |
Why does this team work?
The key upgrade here over Electric Premium is survivability.
Glacy provides reliable party healing, eliminating the need to rush battles before taking heavy chip damage.
Luminelle and Dazmand amplify the Lightning DPS carry, giving you high offensive output backed by a safety net.
Best for: Lightning elemental fans who prefer a safer playstyle.
Triple Fire Detonation Team
This Fire team structure features a complete kit including DPS, Break, Regen, and Healing.
It remains one of the top recommended Fire teams in the current Aniimo tier list meta.
Triple Fire Detonation Team
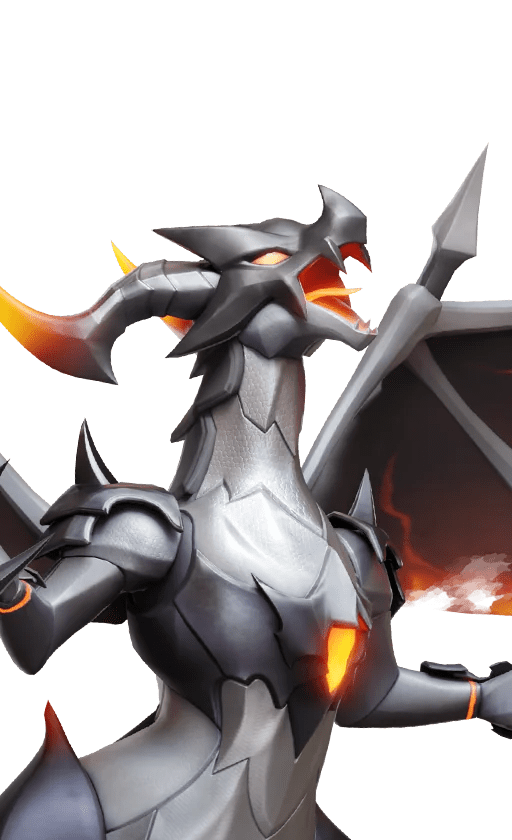
INFERGON
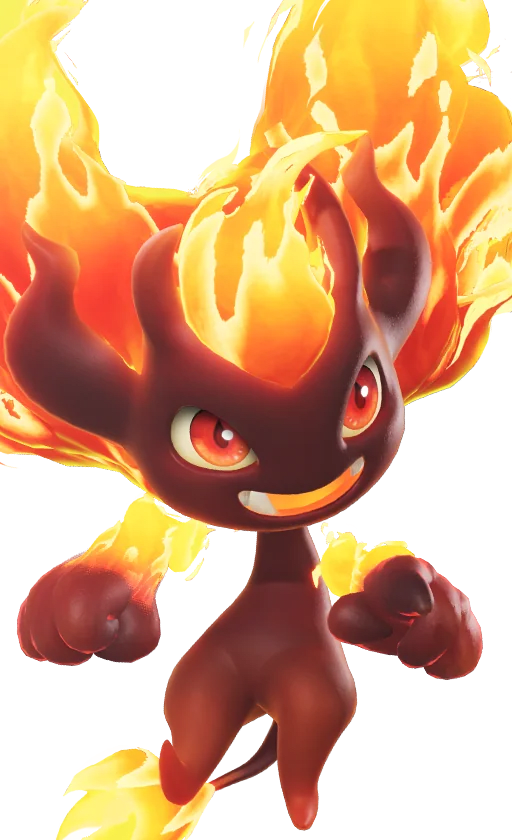
FLAMERION
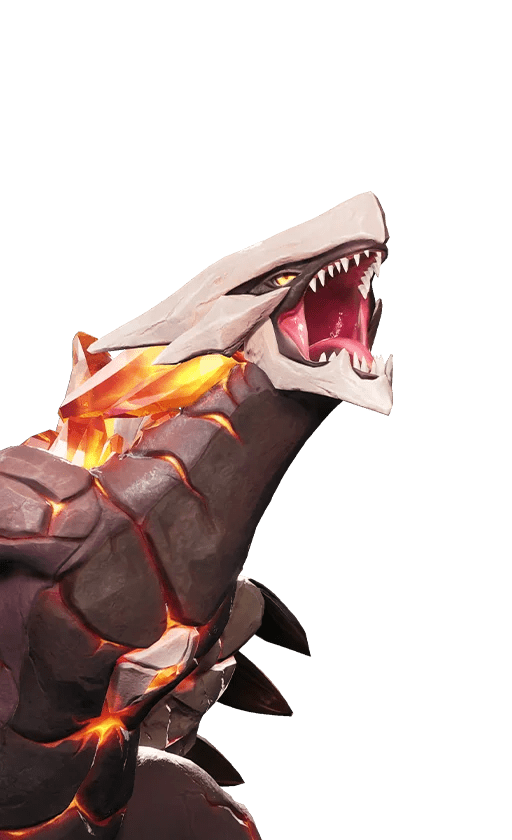
MAGMAREX
GLACY
| Aniimo | Role | Primary Purpose |
|---|---|---|
| Infergon | DPS | Primary Fire damage dealer. |
| Flamerion | Regen | Applies healing over time. |
| Magmarex | Breaker | Creates Break damage windows. |
| Glacy | Healer | Provides high-value emergency healing. |
Why does this team work?
Magmarex opens combat by applying pressure on the enemy Break gauge.
Once the vulnerable state triggers, Infergon steps in to unleash Fire burst damage.
Flamerion supplies passive Regen, while Glacy handles burst healing during intense boss attacks.
This allows you to run three Fire Aniimo without sacrificing essential defensive tools needed for extended encounters.
Best for: Players wanting a Fire-mono theme with great overall utility.
Black Hole Execution Team
This composition is built entirely around Pawney, giving this high-impact carry all the setup needed to operate effectively.
Black Hole Execution Team
PAWNEY
ROOKEY
HEXXIN

GRACEWING
| Aniimo | Role | Primary Purpose |
|---|---|---|
| Pawney | DPS | Main damage carry. |
| Rookey | Breaker | Creates damage windows. |
| Hexxin | Regen | Maintains health sustain between skill rotations. |
| Gracewing | Healer | Provides direct healing. |
Why does this team work?
Rookey handles defense breaking, creating clear vulnerability windows for Pawney.
Hexxin applies passive HP regen between rotations, while Gracewing keeps team health capped.
The core advantage of this comp is that Pawney doesn't require a multi-DPS setup to function.
The three supporting members focus on creating attack windows and maximizing Pawney's uptime.
Best for: Players looking to build a balanced, reliable Pawney carry team.
Magma Stack Engine
The Magma Stack Engine leans heavily into defense and sustain.
This is the ideal choice if you prioritize survivability and fight stability over clear speed.
Magma Stack Engine
MAGMAREX
FLAMERION
SOMNIWING
GLACY
| Aniimo | Role | Primary Purpose |
|---|---|---|
| Magmarex | Breaker | Controls the pacing of battle and breaks defenses. |
| Flamerion | Regen | Provides steady HP recovery. |
| Somniwing | Regen | Adds additional regen layers and utility. |
| Glacy | Healer | Delivers large burst heals. |
Why does this team work?
This team boasts multiple layers of recovery.
Flamerion and Somniwing stack passive health regeneration, while Glacy supplies burst heals whenever HP drops low.
Magmarex handles shield breaking, creating safe damage phases for the team.
The main trade-off is lower overall DPS output, as dedicated burst damage is sacrificed for high survivability.
Best for: Challenging content where staying alive is more critical than fast clear times.